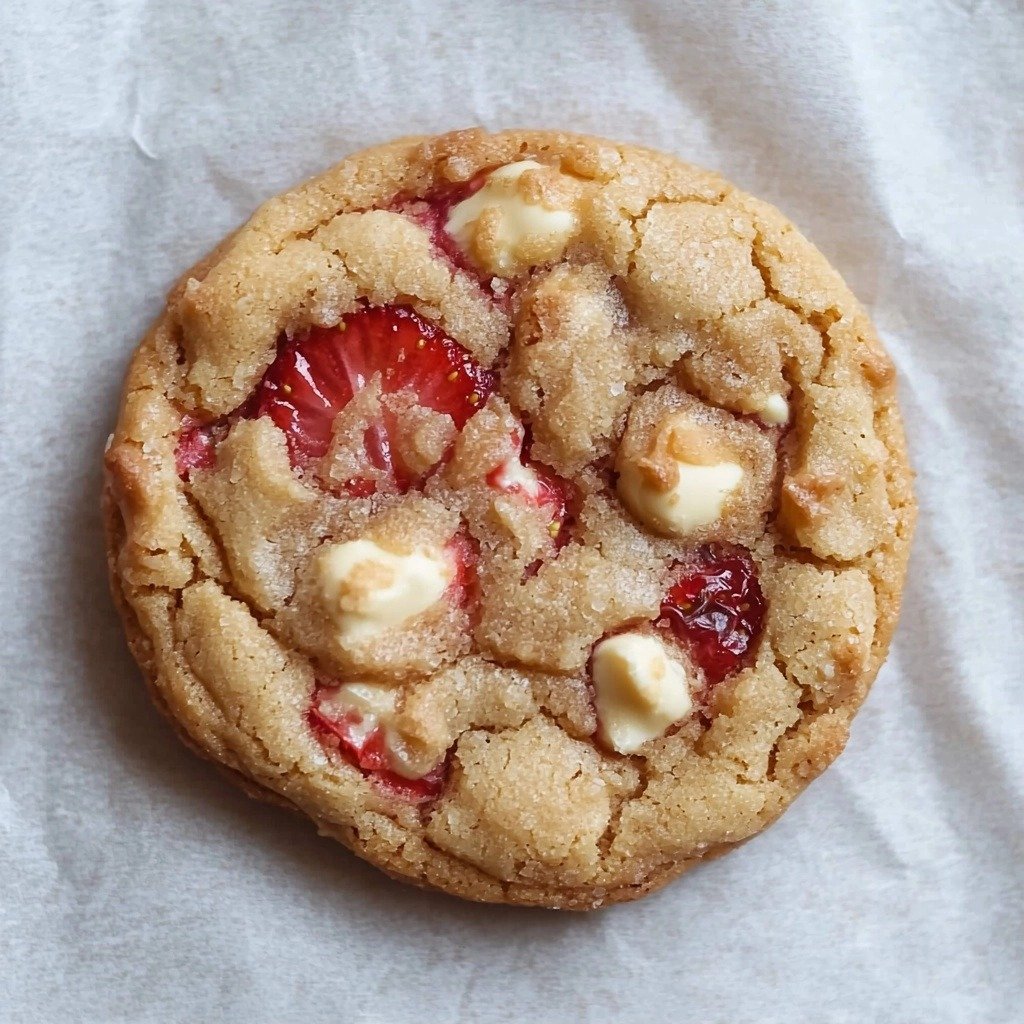
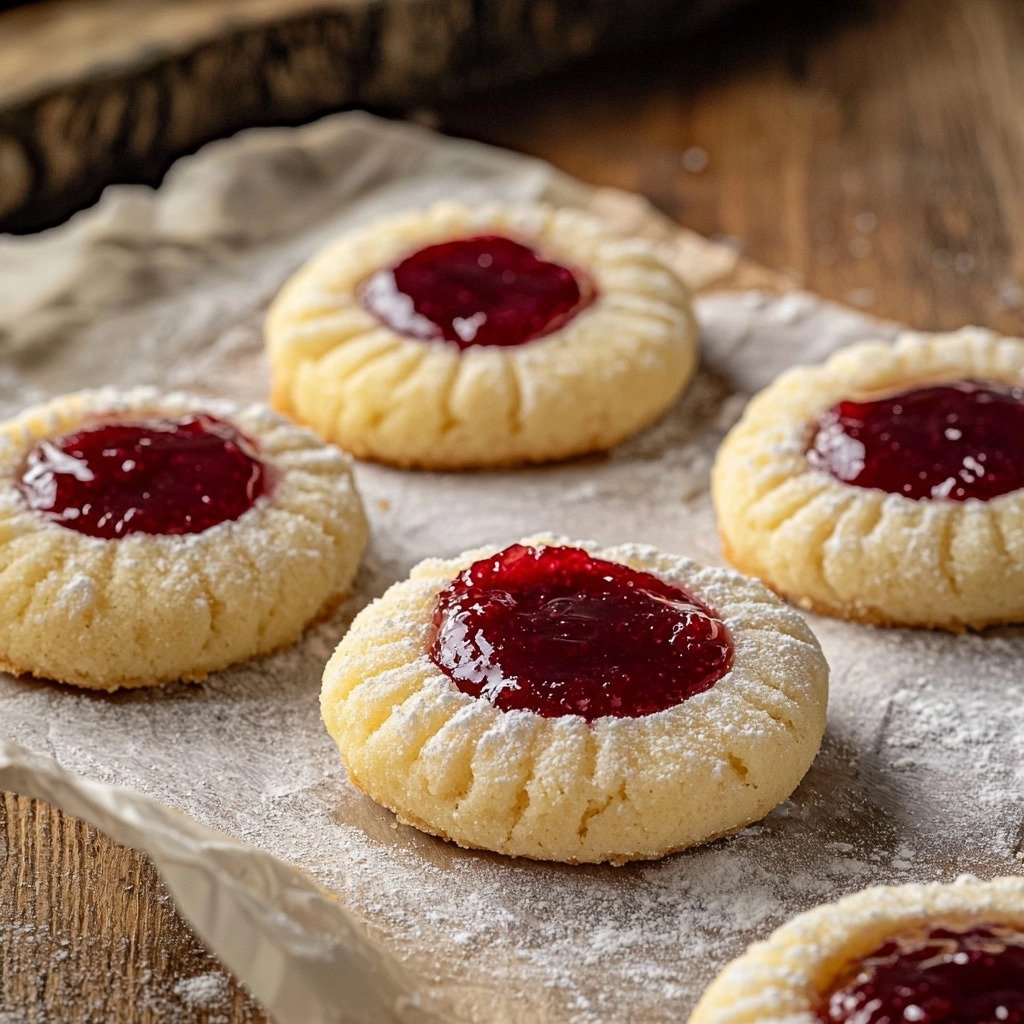
Oh, the holidays! For me, Christmas isn’t truly here until my kitchen fills with the sweet scent of baking. There’s just something so magical about turning simple ingredients into edible works of art, especially when those works of art are as festive and fun as these Christmas Lights Sugar Cookies. They’ve become a beloved tradition in our home, bringing smiles and a little bit of sparkle to everyone who sees (and eats!) them. Trust me, these cookies are as delightful to make as they are to share!

Why You’ll Love This Christmas Lights Sugar Cookies
- Perfectly Tender: These cookies bake up soft and chewy, never hard or crumbly.
- Easy to Decorate: Our royal icing recipe is super simple to make and perfect for piping and flooding.
- Festive & Fun: They’re absolutely adorable and bring a huge dose of holiday cheer to any gathering.
- Make Ahead Friendly: You can bake the cookies in advance or even freeze them to decorate later!
Ingredients You’ll Need
- All-purpose flour: Measuring with a kitchen scale (2 pounds) is truly the most accurate way to get consistently perfect cookies!
- Unsalted butter: Make sure it’s at room temperature – this helps it cream beautifully with the sugar for a smooth dough.
- Large eggs: Just like the butter, room temperature eggs incorporate much better into your dough.
- Pure vanilla extract: Don’t skimp on the good stuff! It adds so much warmth and flavor.
- Meringue powder: This is the secret to stable, shiny royal icing that dries hard and beautiful.
- Food coloring: I love using Wilton icing gels for vibrant colors without adding too much liquid to the icing.
How to Make Christmas Lights Sugar Cookies Step by Step
First things first, get your oven preheating to 350°F. While that’s warming up, grab a medium bowl and whisk together your flour, baking powder, and salt. Whisking helps get rid of any lumps and ensures everything is evenly distributed. Set that dry mixture aside for a moment.
Now, in a large bowl, it’s time for the butter and sugar to get acquainted! Beat them with an electric mixer for about three minutes until they’re light and fluffy. This step is crucial for that tender cookie texture. Then, add your room temperature egg and vanilla, beating for another minute. With your mixer on low speed, gradually add that flour mixture you prepared earlier. Keep mixing until the dough starts to pull away from the sides of the bowl – that’s your cue!
Turn the dough out onto a large piece of parchment paper and give it a little knead with your hands for a few minutes. Divide it into two sections, wrap each in parchment, and pop them into the fridge for about 30 minutes to chill. This chilling step makes the dough much easier to roll out. When you’re ready to roll, place another piece of parchment on top of one dough section and roll it out until it’s about 1/8 to 1/4 inch thick. Cut out your shapes – don’t move them! Just carefully remove the excess dough around them, then transfer the parchment with your cut-out cookies directly onto a cookie sheet. Bake for 10-13 minutes, or until you see those lovely light golden edges. Let them cool completely before you even think about decorating – patience is key here! This is where the magic happens with the royal icing, so don’t worry if your first few aren’t perfect; practice makes progress!

My Top Tips for Success
- I always measure flour by weight: Using a kitchen scale for flour (2 pounds!) is the most accurate way to ensure perfect cookie consistency every time.
- Don’t skip chilling the dough: Trust me on this one! Chilling makes the dough much easier to handle and prevents your cookies from spreading too much.
- Use parchment paper for rolling: Rolling between two sheets of parchment paper means no sticky mess and easy transfer to the baking sheet.
- Cool cookies completely: Decorating warm cookies will melt your beautiful royal icing, so be patient!
- Start with a tiny tip for piping: When cutting the tip off your piping bag for outlining, start very small. You can always make it bigger, but you can’t make it smaller!
- Experiment with icing consistency: Getting the right consistency for outlining and flooding takes a little practice. Don’t be afraid to add a tiny bit more water for flood or powdered sugar for medium consistency.
Common Mistakes to Avoid
- Over-mixing the dough: This can lead to tough cookies. Mix only until the ingredients are just combined.
- Not chilling the dough enough: Your cookies might spread too much in the oven and lose their shape if the dough is too warm.
- Rolling dough too thin or too thick: Too thin and they’ll be crispy, too thick and they might not bake evenly. Aim for 1/8″ to 1/4″.
- Decorating warm cookies: The heat will cause your royal icing to melt and run, ruining your beautiful designs. Ensure cookies are completely cool.
- Using too much water in royal icing: Your flood icing can become too watery and won’t hold its shape or dry properly. Add water a tiny bit at a time.
How to Store Christmas Lights Sugar Cookies
- At room temperature: Store decorated cookies in an airtight container for up to 1 week.
- Freezing undecorated cookies: Place baked, cooled cookies in an airtight container or freezer bag for up to several months. Thaw at room temperature before decorating.
- Freezing decorated cookies: Once icing is completely dry, you can freeze decorated cookies in a single layer in an airtight container for up to 1 month. Thaw slowly at room temperature.
Frequently Asked Questions
What is meringue powder?
Meringue powder is a dried egg white product that helps stabilize royal icing, giving it a smooth texture and allowing it to dry hard. It’s essential for achieving that classic royal icing finish.
Can I use regular frosting instead of royal icing?
While you can use other frostings, royal icing is ideal for these cookies because it dries hard, allowing you to stack and store them without smudging. Other frostings might stay soft and gooey.
Why did my cookies spread too much?
Cookies spreading too much can be due to dough that wasn’t chilled enough, butter that was too warm, or an oven that wasn’t at the correct temperature. Make sure your ingredients are at the right temperature and your oven is preheated.
How long does royal icing take to dry?
Royal icing takes about an hour to dry to the touch, but for full hardness and stackability, it’s best to let it dry overnight, or at least for 6-8 hours.
Can I make the dough ahead of time?
Absolutely! You can prepare the dough and keep it wrapped in the refrigerator for up to 3 days, or freeze it for up to a month. Just let it thaw in the fridge before rolling.
I genuinely hope these Christmas Lights Sugar Cookies bring as much warmth and festive cheer to your home as they do to mine. They’re such a joy to make, and decorating them is a wonderful way to get into the holiday spirit. If you try them out, please let me know how they turn out – I’d love to hear about your cookie adventures!
PrintChristmas Lights Sugar Cookies

Festive and fun, these tender sugar cookies are decorated with vibrant royal icing to look like twinkling Christmas lights.
- Prep Time: 45
- Cook Time: 13
- Total Time: 58
- Yield: 20 (3") cookies
- Category: Dessert
- Method: Baking
- Cuisine: American
- Diet: Vegetarian
Ingredients
- 6 cups all purpose flour (2 pounds)
- 2 teaspoons baking powder
- 2 teaspoons salt
- 4 sticks unsalted butter, room temperature (1 pound)
- 2 cups granulated sugar
- 2 large eggs, room temperature
- 2 teaspoons pure vanilla extract
- 16 ounces powdered sugar (1 pound)
- 1/4 cup plus 1 tablespoon meringue powder
- 1/3 cup water, plus more if too thick
- Food coloring (Wilton icing gel recommended)
Instructions
- Preheat your oven to 350°F.
- In a medium bowl, add the flour, baking powder, and salt.
- Using a whisk, stir the dry ingredients to combine and remove any lumps.
- Set the flour mixture aside.
- In a large bowl, add the softened butter and granulated sugar.
- Beat the butter and sugar with an electric mixer for 3 minutes until light and fluffy.
- Add the room temperature eggs and vanilla extract to the butter mixture.
- Beat for another minute until well combined.
- With the electric mixer on low speed, gradually add the reserved flour mixture to the wet ingredients.
- Blend until the dough begins to pull away from the sides of the bowl.
- Take the dough out of the bowl and place it on a large piece of parchment paper.
- Use your hands to knead the dough for a few minutes until smooth.
- Divide the dough into two equal sections.
- Wrap each section of dough tightly with parchment paper.
- Place the wrapped dough in the refrigerator to chill for about 30 minutes.
- To roll the dough, place one section of chilled dough between two pieces of parchment paper.
- Use a rolling pin to roll the dough until it is between 1/8" and 1/4" thick.
- Use cookie cutters to cut the dough into desired shapes.
- Carefully remove the excess dough from around the cut shapes, leaving the shapes on the parchment paper.
- Transfer the parchment paper with the cut-out cookies directly onto a cookie sheet.
- Bake for 10-13 minutes, or until the edges are slightly golden brown.
- Let the baked cookies cool completely on the cookie sheet before decorating.
- Repeat with the second section of dough and any scraps.
- For the royal icing, place the powdered sugar, meringue powder, and 1/3 cup water in a large bowl.
- Beat with an electric mixer on low speed for 6 minutes until very thick and fluffy.
- Add 4-5 tablespoons of additional water to the icing and mix to combine.
- This is your medium consistency icing (it should be like toothpaste).
- Take half of the medium consistency icing and transfer it to a separate bowl.
- Add another 1-2 tablespoons of water to this second bowl of icing to create a thinner consistency.
- This is your flood consistency icing (it should run off a spoon like Elmer's glue).
- Divide and color the icing as desired using food coloring.
- Add the medium consistency icing to a piping bag with a tiny tip cut off.
- Pipe an outline around the outer edge of each cooled cookie.
- Fill in the outlined area with the flood consistency icing.
- (Optional: Pour flood icing into a plastic squeeze bottle for easier distribution).
- Let the flood icing dry for about an hour.
- Once the flood icing is dry to the touch, add decorations (like light bulb details or strings) using the medium consistency icing.
- Allow all decorated cookies to dry completely before storing.
Notes
Measure flour by weight (2 pounds) for best accuracy.
Chill dough for at least 30 minutes to prevent spreading.
Use parchment paper when rolling for easy handling and cleanup.
Ensure cookies are completely cool before applying royal icing.
Start with a very small snip when cutting the piping bag tip for outlining.