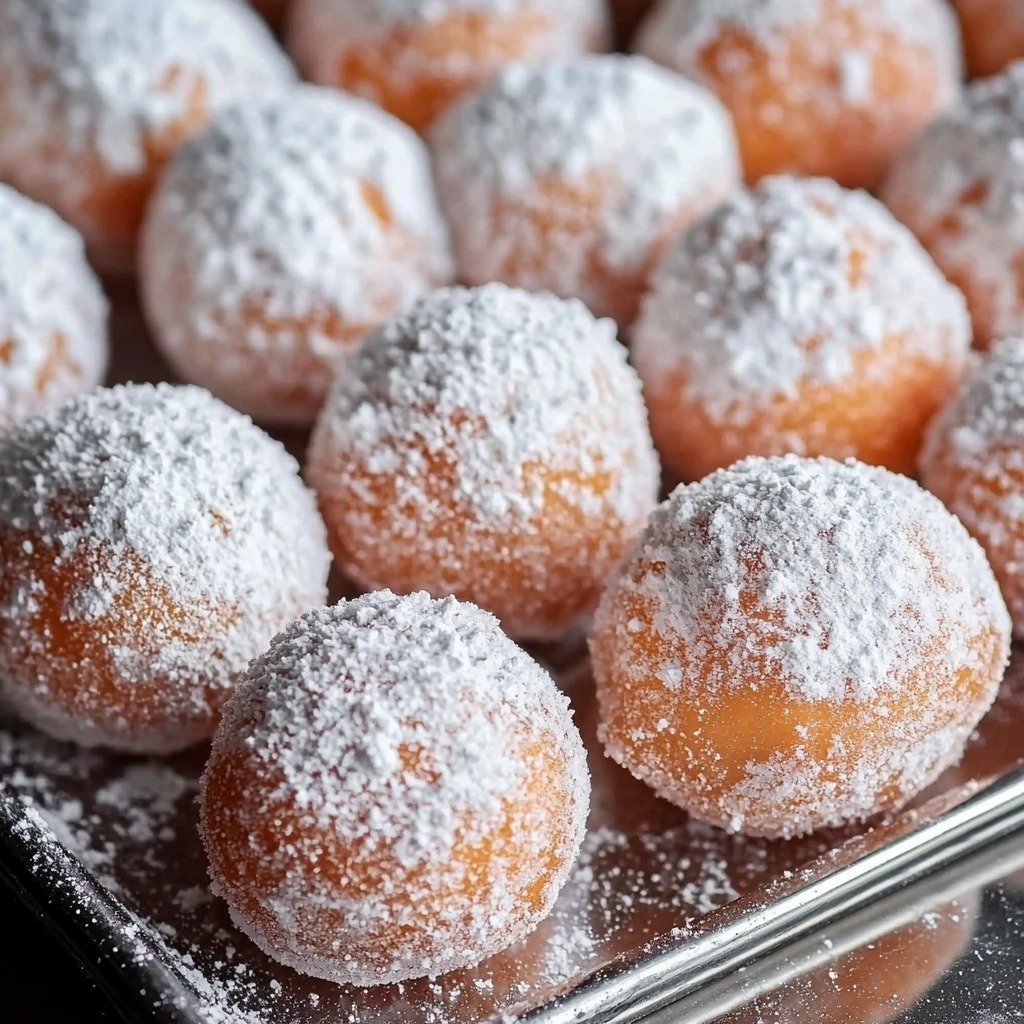
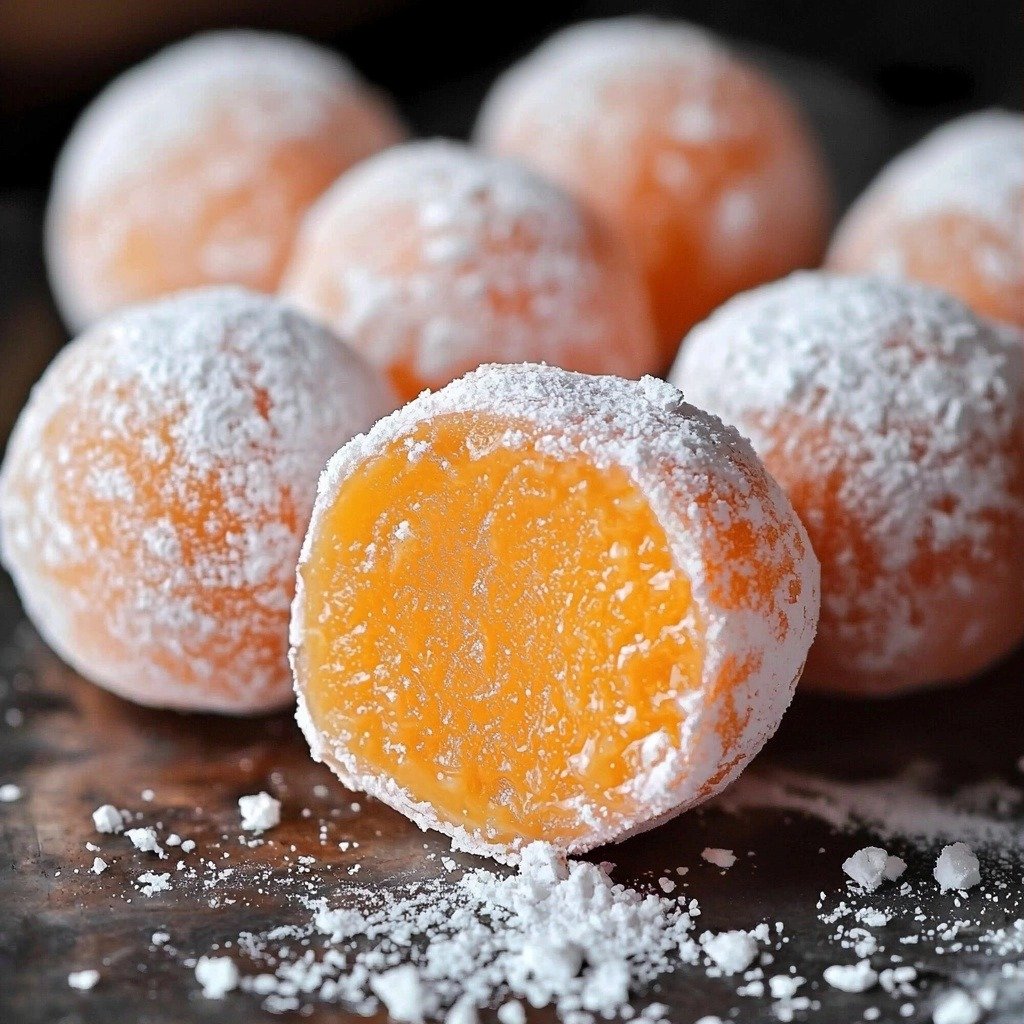
Oh, you guys! There’s just something about that classic orange creamsicle flavor that instantly transports me back to childhood. You know, those hot summer days, the ice cream truck jingle in the distance? Pure bliss! I started playing around in the kitchen, dreaming of a way to capture that nostalgic taste in a bite-sized treat, and that’s how these dreamy Orange Creamsicle Truffles were born. They’re so simple to make, incredibly delicious, and bring a little burst of sunshine to any day!
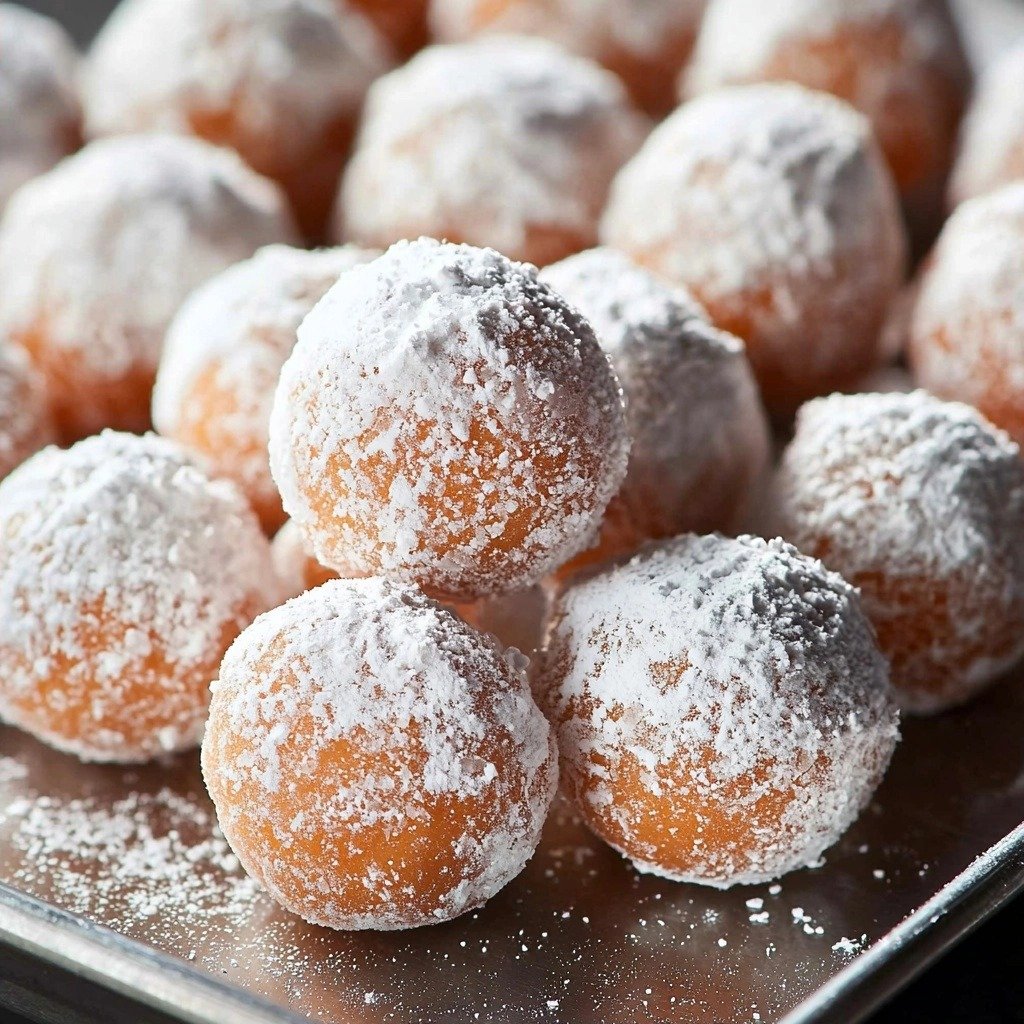
Why You’ll Love This Orange Creamsicle Truffles
- They taste exactly like a creamy orange creamsicle, but in truffle form!
- So easy to make with just a few ingredients, perfect for beginners.
- They’re a no-bake treat, which means less time over a hot oven!
- Perfect for parties, gifts, or just a little sweet pick-me-up.
Ingredients You’ll Need
- White Chocolate: This is the creamy base for our truffles. Make sure it’s good quality chopping chocolate or white chocolate chips for the best melt and flavor.
- Unsalted Butter: Adds richness and helps create that smooth truffle texture. Unsalted is best so you can control the saltiness.
- Orange Zest: The absolute key to that bright, fresh orange flavor! Don’t skip this; it’s where most of the magic happens.
- Heavy Whipping Cream: This helps bind everything together and makes the truffles wonderfully creamy.
- Orange Extract: Boosts the orange flavor even more! A little goes a long way.
- Oil-Based Orange Food Coloring: Totally optional, but it gives these truffles that iconic creamsicle orange hue. Use oil-based for best results with chocolate.
- Powdered Sugar: We’ll use this for coating the truffles, giving them a lovely, sweet finish.
How to Make Orange Creamsicle Truffles Step by Step
First things first, get your white chocolate ready! Chop it up nicely and pop it into a small container with a lid. This is where your truffle mixture will eventually chill, so a good seal is key. Have a strainer and a spatula nearby, too – you’ll thank me later!
Now, let’s get those orange flavors really singing. In a small saucepan, you’ll combine your unsalted butter and orange zest. Bring this mixture to a gentle boil over medium heat, whisking constantly for about a minute. This step really infuses the butter with that amazing orange aroma. Keep whisking and add your heavy cream, letting it cook for another 1-2 minutes until you see little bubbles forming around the edges. Then, take it off the heat.
This is where the magic happens! Carefully pour your warm orange butter mixture through the strainer right over your chopped white chocolate in the container. Use your spatula to press all that delicious orange zest against the mesh – you want to extract every last bit of that flavorful oil. Let it sit for just a minute, then add your orange extract and, if you’re using it, a touch of orange food coloring. Whisk it all together until most of the chocolate has melted. Don’t worry if there are a few tiny solid pieces left; they’ll melt as the mixture chills. Seal up your container and pop it into the freezer for about an hour until it’s firm enough to roll.
My Top Tips for Success
- I always use a good quality white chocolate for the best flavor and texture. It really makes a difference!
- In my experience, zesting the orange directly into the butter and cream mixture really maximizes the flavor.
- Trust me on this one: don’t skip pressing the zest with a spatula through the strainer. That’s where you get all the essential oils!
- When rolling the truffles, work quickly. Your hands will warm the mixture, but if it gets too soft, just pop it back in the freezer for a few minutes.
- I find using a small cookie scoop (about 1 tablespoon size) helps keep all the truffles uniform in size.
- Keep those damp paper towels handy for cleaning your hands between rolling batches! It makes cleanup so much easier.
Common Mistakes to Avoid
- Overcooking the butter and zest: If you cook it too long, the butter can separate or burn the zest, leading to a bitter taste. Cook just until bubbling for 1 minute.
- Not straining the zest: Leaving the zest in can make the truffles gritty. Straining ensures a smooth, creamy texture.
- Using water-based food coloring: Water-based colors can cause chocolate to seize. Always use oil-based food coloring for chocolate.
- Not chilling long enough: If the mixture isn’t firm enough, it will be messy and hard to roll. Make sure it’s firm before you start.
- Rolling truffles too slowly: The heat from your hands can melt the chocolate quickly. Work efficiently, and if the mixture gets too soft, chill it again.
How to Store Orange Creamsicle Truffles
- Refrigerator: Keep them in an airtight container for up to 1 week.
- Freezer: Store in an airtight container for up to 1 month. Thaw slightly before serving for best texture.
Frequently Asked Questions
Can I use orange juice instead of orange zest and extract?
No, I wouldn’t recommend it. Orange juice contains water, which can cause the white chocolate to seize and become grainy. The zest and extract provide concentrated flavor without the moisture.
Do I have to use oil-based food coloring?
Yes, if you want to use food coloring, it must be oil-based. Water-based food coloring will cause the chocolate to seize and become unusable for truffles.
My truffle mixture is too soft to roll, what should I do?
Simply pop the container back into the freezer for another 15-30 minutes, or until it’s firm enough to handle. Sometimes kitchens are warmer, and it just needs a little extra chill time.
Can I use milk chocolate or dark chocolate instead of white chocolate?
While you can make truffles with other chocolates, this recipe is specifically designed for white chocolate to achieve that classic “creamsicle” flavor. Using milk or dark chocolate would result in a different flavor profile.
How many truffles does this recipe make?
This recipe typically yields about 12-15 truffles, depending on how large you roll them. Using a 1-tablespoon scoop helps keep them consistent.
I hope these Orange Creamsicle Truffles bring a little sunshine and a lot of smiles to your day, just like they do for me! They’re such a delightful, easy treat. If you whip up a batch, I’d absolutely love to hear how they turned out in your kitchen!
PrintOrange Creamsicle Truffles

These delightful no-bake truffles capture the nostalgic flavor of an orange creamsicle in a creamy, bite-sized treat, perfect for any occasion.
- Prep Time: 20
- Cook Time: 5
- Total Time: 145
- Yield: 12-15 truffles
- Category: Dessert
- Method: No-Bake
- Cuisine: American
- Diet: Vegetarian
Ingredients
- 1 cup chopped white chocolate
- ¼ cup unsalted butter
- 2 tablespoons orange zest
- 3 tablespoons heavy whipping cream
- ½ teaspoon orange extract
- oil-based orange food coloring, optional
- ½ cup powdered sugar, divided
Instructions
- Place chopped white chocolate into a small, wide container with a sealable lid.
- Set a strainer and a spatula within reach.
- Add unsalted butter and orange zest to a small saucepan.
- Bring the butter and orange zest mixture to a boil over medium heat.
- Whisk constantly for 1 minute once boiling.
- Pour in heavy whipping cream while continuing to whisk.
- Continue to cook and whisk for another 1-2 minutes or until bubbles form along the edges.
- Remove the saucepan from heat.
- Hold the strainer over the container with white chocolate.
- Pour the orange butter mixture through the strainer into the white chocolate.
- Use a spatula to press the orange zest into the mesh, extracting as much oil and flavor as possible.
- Discard the contents in the strainer.
- Let the mixture sit for one minute.
- Add orange extract to the mixture.
- Add oil-based orange food coloring, if using, to the mixture.
- Whisk until most of the chocolate is melted; a few solid pieces are okay.
- Seal the container.
- Chill in the freezer for 1 hour or until the mixture is firm enough to work with.
- When ready, add 1/4 cup powdered sugar to a new sealable container.
- Add another 1/4 cup powdered sugar to a small bowl.
- Have plenty of damp cloths or paper towels handy for cleanup.
- Remove the truffle mixture from the freezer.
- Use a spoon or cookie scoop to scrape out about 1 tablespoon of mixture.
- Roll the mixture between your hands to form a ball.
- Drop the ball into the bowl with powdered sugar.
- Toss the truffle to coat.
- Place the coated truffle in the prepared storage container.
- Repeat this step until all the mixture is used.
- When all truffles are formed, seal the storage container.
- Gently shake the container to coat the truffles with the remaining powdered sugar.
- Transfer the storage container to the freezer.
- Allow truffles to chill for 1 hour or until firm.
- Serve as desired.
Notes
Use a good quality white chocolate for the best flavor and texture.
Press the orange zest well in the strainer to extract maximum flavor.
Work quickly when rolling truffles; if they get too soft, chill the mixture again.
Store truffles in an airtight container in the refrigerator for up to 1 week or freezer for up to 1 month.