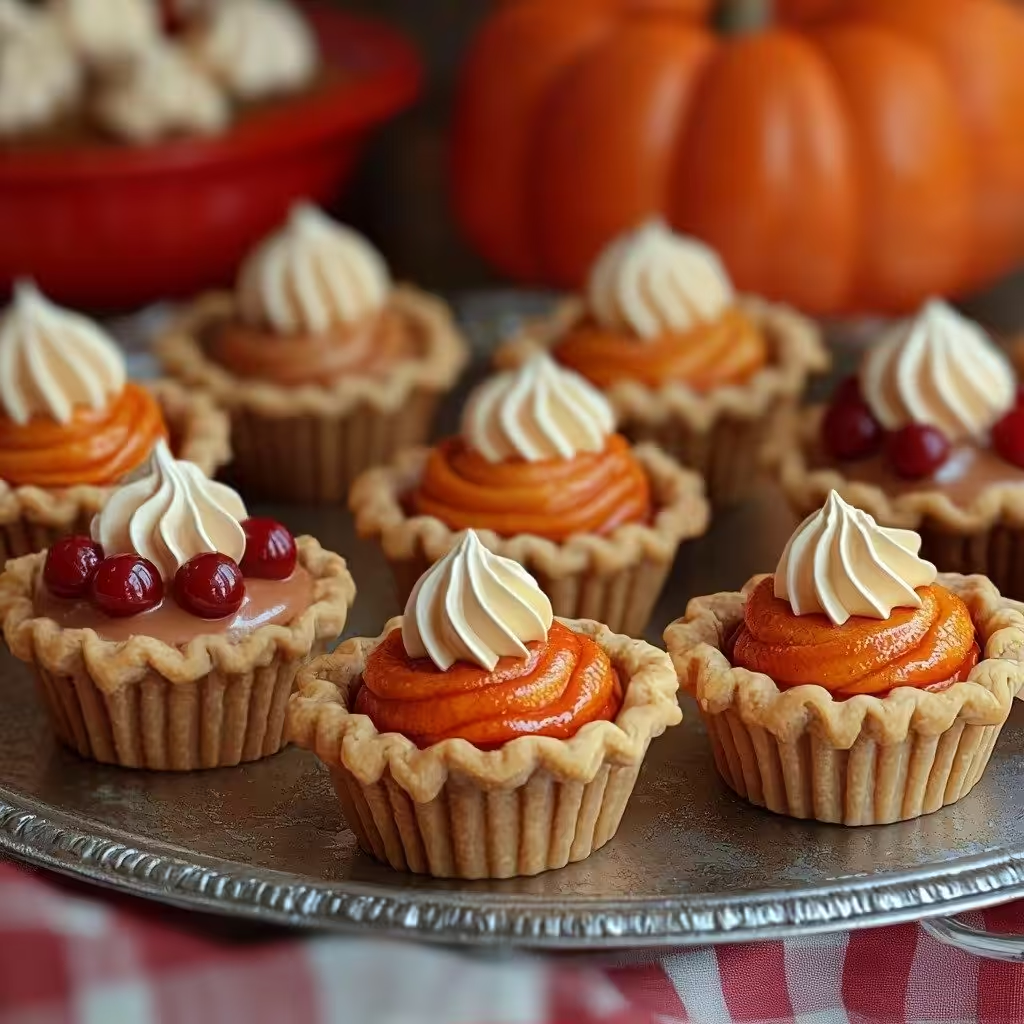
There’s something so wonderfully nostalgic about miniature desserts, isn’t there? They just bring a smile to my face every time. These Cutie Pie Mini Cakes are my go-to when I want to whip up something adorable and delicious without spending hours in the kitchen. They’re perfect for parties, little treats for the kids, or just because you deserve a tiny slice of pie happiness!
Why You’ll Love This Cutie Pie Mini Cakes
- They are incredibly easy to make, even if you’re new to baking and decorating!
- You get three different “pie” flavors – pumpkin, cherry, and apple – all in one bite-sized package.
- These mini cakes are absolutely adorable and will be the star of any dessert table.
- No actual baking required for the cake base, which means less time in the kitchen and more time enjoying!
Ingredients You’ll Need
- Drake’s Pound Cake Mini Bites: These are our secret shortcut! They provide the perfect little cake base, saving you tons of time. You can find them in the snack cake aisle.
- Buttercream frosting: Store-bought works wonderfully here for convenience. If you have a favorite homemade recipe, that’s great too! It’s the canvas for all our fun flavors.
- Red, orange & brown food coloring: These are essential for giving our “pies” their signature colors. Gel food coloring works best for vibrant hues.
- Pumpkin pie spice: This is optional, but it really enhances the pumpkin pie flavor. Just a little sprinkle makes a big difference.
- Red sugar pearls: These add a lovely sparkle and texture to our cherry pie mini cakes.
- Cherry extract for baking: Another optional but fantastic addition if you want a more pronounced cherry flavor in your frosting. A little goes a long way!
- Apple pie filling: You’ll want to finely chop this so it sits nicely on top of our mini cakes. Canned or homemade, both work!
How to Make Cutie Pie Mini Cakes Step by Step
First things first, let’s get our frosting ready. You’ll want to divide your buttercream into four small bowls. This is where the magic of color happens! Mix red food coloring into one bowl, orange into another, and brown into a third. Keep that fourth bowl of frosting plain white. Give them a good stir until the colors are even and vibrant.
Now, let’s decorate! For the pumpkin pie mini cakes, take a knife and gently spread some of that lovely orange frosting on top of your mini cake bites. Next, grab your brown frosting and a #16 piping tip. You’re going to pipe a pretty scallop edge around the mini cake – this creates our “crust.” Don’t worry if it’s not perfect; it adds to the charm! Finish these off by piping a small star of white buttercream right in the middle using a #32 tip, and sprinkle with a little pumpkin pie spice if you like.
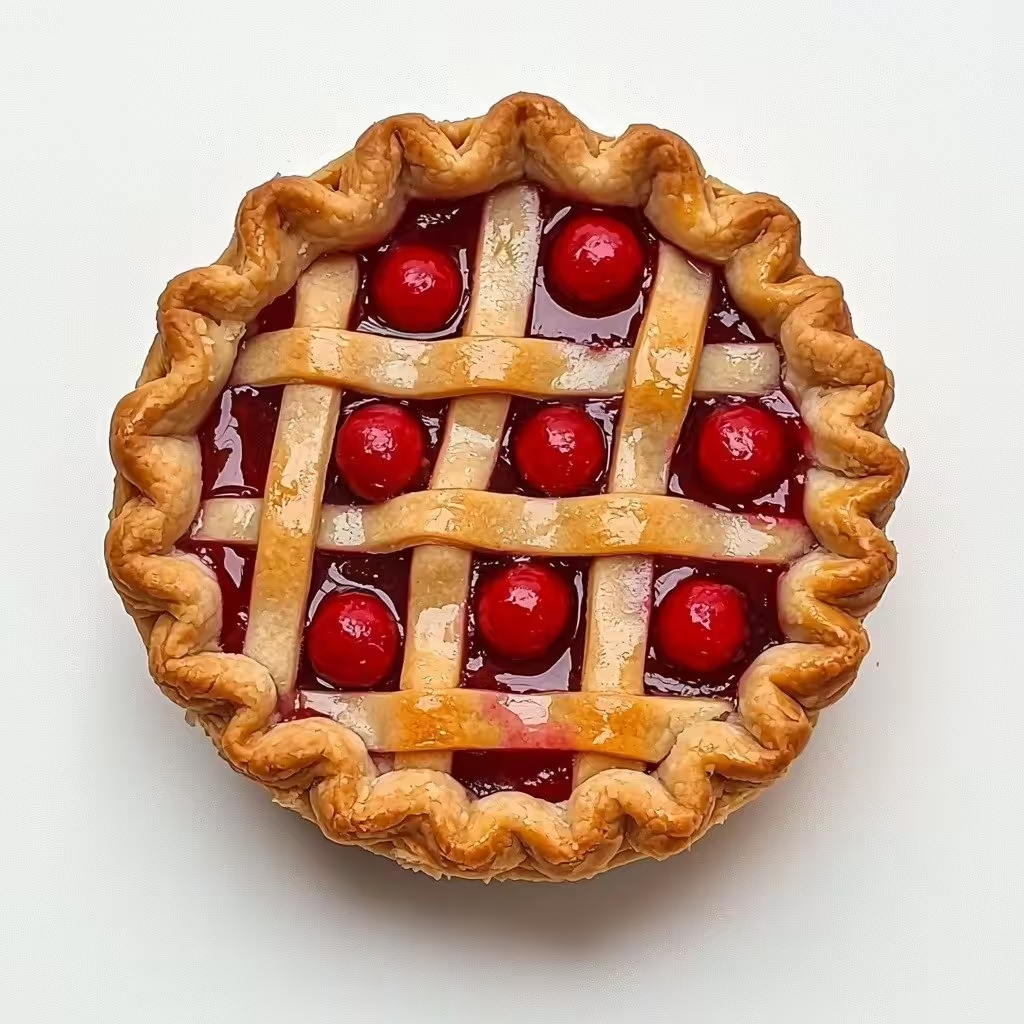
For the cherry pie mini cakes, spread the red frosting on top. If you want, you can mix in a tiny drop of cherry extract beforehand for extra flavor. Then, sprinkle a few red sugar pearls on top for that classic cherry look. Now, take your brown frosting and a #3 round piping tip. You’ll pipe a grid pattern across the top – like a lattice pie crust. Finally, use the #16 piping tip again to pipe a scallop edge for the crust around the outside. For the apple pie mini cakes, start by finely chopping your apple pie filling and spreading it evenly over the tops of the mini cake bites. Then, grab your brown frosting and a #5 piping tip to pipe a grid pattern over the apple filling. Next, use a #10 piping tip to pipe an edge around the mini cake for the crust. This is a fun part: take a toothpick and gently make small lines around that piped crust to mimic crimping. It really makes it look like a real pie! To finish, pipe a little dollop of white buttercream right in the center.
My Top Tips for Success
- I always recommend using gel food coloring for the best, most vibrant colors without thinning out your frosting.
- In my experience, chilling the mini cakes for a few minutes after the initial frosting can make piping details much easier.
- Trust me on this one: practice your piping on a piece of parchment paper first if you’re new to it. You can scrape it back into the bag!
- Don’t be afraid to experiment with the piping tips! Different tips create different effects, and it’s fun to see what you like best.
- Have all your ingredients and tools laid out before you start. It makes the decorating process so much smoother.
Common Mistakes to Avoid
- Using too much food coloring at once: Add food coloring a little at a time until you reach your desired shade. Too much can thin out your frosting.
- Not chopping the apple filling finely enough: If the apple pieces are too large, they won’t sit neatly on the mini cakes and can make them look messy.
- Overfilling your piping bags: Only fill piping bags about two-thirds full. This makes them easier to handle and prevents frosting from squeezing out the top.
- Skipping the chilling step: If your frosting gets too warm, it can become runny. A quick chill can firm it up and make it easier to work with.
How to Store Cutie Pie Mini Cakes
- Room Temperature: Up to 2 days, in an airtight container if your kitchen isn’t too warm.
- Refrigerator: Up to 5 days, in an airtight container. Let them come to room temperature for 15-20 minutes before serving for best flavor.
- Freezer: Up to 1 month, wrapped individually in plastic wrap and then placed in an airtight container. Thaw overnight in the refrigerator.
Frequently Asked Questions
Can I make these mini cakes ahead of time?
Yes, absolutely! You can decorate these mini cakes a day or two in advance. Store them in an airtight container in the refrigerator.
What if I don’t have all those piping tips?
No problem! You can still get creative. You can use a Ziploc bag with the corner snipped off for basic piping, or simply use a knife for spreading and getting a rustic look.
Can I use homemade pound cake instead of Drake’s Mini Bites?
Of course! If you have a favorite pound cake recipe, feel free to bake it and cut it into small squares or rounds to use as your base.
Can I make other “pie” flavors?
Definitely! Get creative with other pie fillings or flavored frostings. Lemon meringue, chocolate cream, or blueberry could all be fun to try.
I really hope you give these Cutie Pie Mini Cakes a try! They’re such a delightful and easy way to bring a little extra sweetness and charm to your day. If you make them, I’d absolutely love to see how they turn out!
PrintCutie Pie Mini Cakes

These adorable mini cakes are decorated to look like tiny pies, offering three delicious flavors in one easy-to-make treat.
- Prep Time: 25
- Total Time: 25
- Yield: 10-12 mini cakes
- Category: Dessert
- Method: No-Bake, Decorating
- Cuisine: American
Ingredients
- 1 box Drake’s Pound Cake Mini Bites
- Buttercream frosting
- Red food coloring
- Orange food coloring
- Brown food coloring
- Pumpkin pie spice (optional)
- Red sugar pearls
- Cherry extract for baking (optional)
- Apple pie filling
- Wilton #3 decorating tip
- Wilton #5 decorating tip
- Wilton #10 decorating tip
- Wilton #16 decorating tip
- Wilton #32 decorating tip
- Disposable piping bags
Instructions
- Divide the buttercream into 4 small bowls.
- Mix red food coloring into one bowl of buttercream.
- Mix orange food coloring into a second bowl of buttercream.
- Mix brown food coloring into a third bowl of buttercream.
- Keep the 4th bowl of buttercream white.
- For pumpkin pie mini cakes, frost the top of the cake bites with orange frosting using a knife.
- Using a #16 piping tip, pipe a scallop edge around the pumpkin mini cakes with brown frosting.
- Using a #32 piping tip, pipe a small star of white buttercream in the middle of each pumpkin mini cake.
- Sprinkle pumpkin pie spice on top of the pumpkin mini cakes, if desired.
- For cherry pie mini cakes, frost the top of the cake bites with red frosting.
- Optionally, add a very small amount of cherry extract to the red frosting for flavor.
- Sprinkle a few red sugar pearls on top of the cherry mini cakes.
- Using a #3 round piping tip, pipe lines in a grid pattern on top of the cherry mini cakes with brown frosting.
- Using a #16 piping tip, pipe a scallop edge around the cherry mini cakes with brown frosting.
- For apple pie mini cakes, finely chop the apple pie filling.
- Spread the chopped apple pie filling on top of the cake bites.
- Using a #5 piping tip, pipe lines in a grid pattern on top of the apple mini cakes with brown frosting.
- Using a #10 piping tip, pipe an edge around the apple mini cakes for the crust with brown frosting.
- Take a toothpick and make small lines around the piped brown crust to create a crimped look.
- Pipe a dollop of white buttercream in the middle of each apple mini cake bite.
Notes
Use gel food coloring for vibrant colors without thinning the frosting.
Chill decorated mini cakes briefly to set frosting before moving.
Practice piping on parchment paper first if you’re new to it.
Have all ingredients and tools ready before you start decorating.