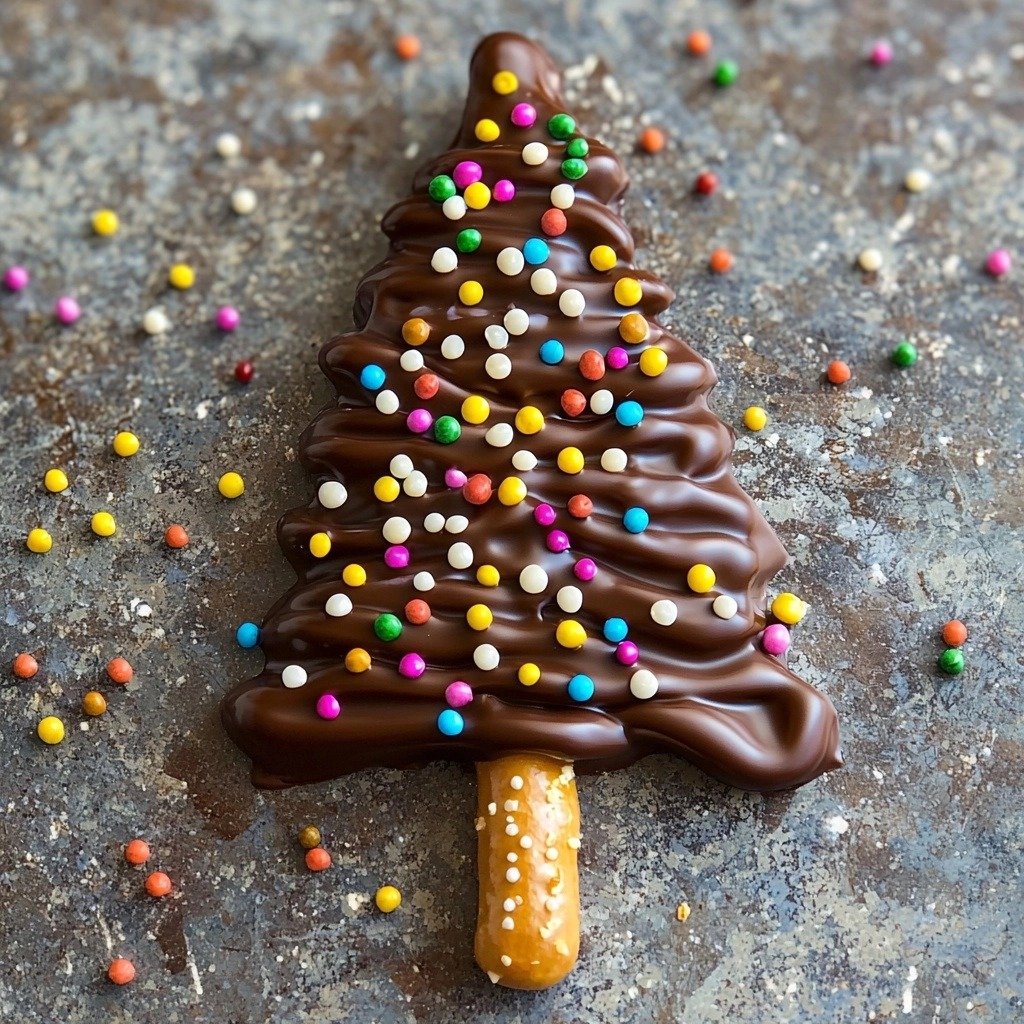
The holidays always bring back so many sweet memories for me, and one of my favorites is making edible crafts with my nieces and nephews. We love getting creative in the kitchen, especially when it involves chocolate and sprinkles! This year, we discovered how much fun it is to make these adorable Pocky Christmas Trees.
They’re so simple, cheerful, and perfect for little hands (and big ones too!). These treats have quickly become a new tradition because they’re just so festive and delicious.
Why You’ll Love These Pocky Christmas Trees
- They’re incredibly easy to make – seriously, anyone can do it!
- Perfect for holiday parties or a fun activity with kids.
- That satisfying crunch from the Pocky, coated in rich chocolate, is just irresistible.
- You only need a few ingredients, and no baking is required!
Ingredients You’ll Need
- Pocky: These are the star of our show! You can usually find them in the international aisle of most grocery stores. The biscuit stick acts as the perfect sturdy “trunk” for our trees.
- Dark Ghirardelli melting wafers: I love using these because they melt so smoothly and set up beautifully, giving you that nice, firm chocolate coating without needing to temper chocolate. Find them in the baking aisle.
- Small colorful sprinkles: These add that festive pop of color! Any small, assorted sprinkles will work perfectly to decorate your trees.
- Star sprinkle: A must-have for the top of our Christmas trees! Look for small edible star sprinkles in the baking section.
How to Make Pocky Christmas Trees Step by Step
Alright, let’s get started on these super cute treats! First things first, grab some wax paper and lay it out on your counter or a baking sheet. This is where your Pocky Christmas Trees will rest and dry, and it makes cleanup a breeze.
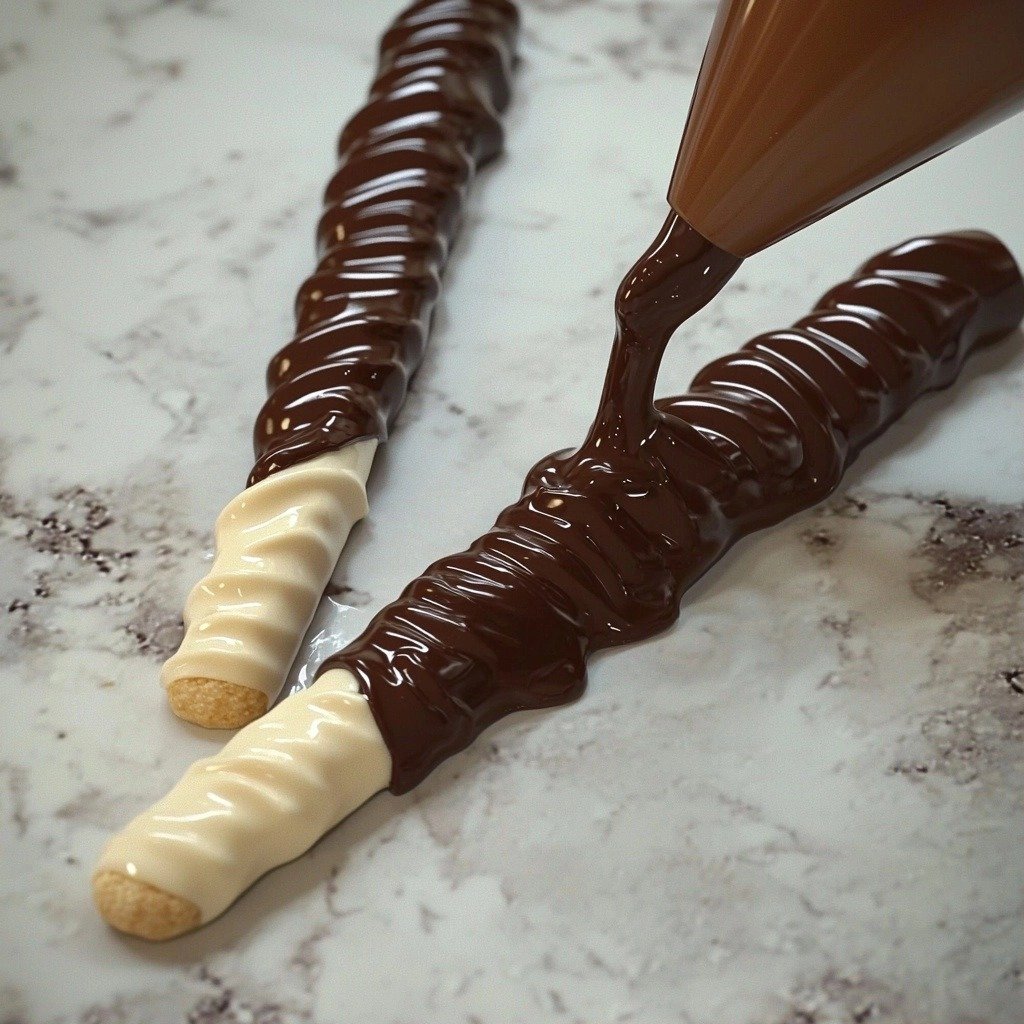
Next, it’s time to melt your chocolate. Follow the instructions on your Ghirardelli melting wafers package – usually, this means melting them in intervals in the microwave, stirring often, until smooth and creamy. Don’t worry if it seems a little thick at first; just keep stirring gently. Once melted, carefully spoon the chocolate into a sandwich baggie. This is where the magic happens!
Snip a tiny bit off one corner of the baggie – you want a small opening, like a fine piping bag. Now, over each Pocky stick, drizzle the melted chocolate back and forth, starting wider at the bottom and getting narrower towards the top, to create a Christmas tree shape. Before the chocolate sets, quickly sprinkle your colorful sprinkles all over the tree, and then carefully place a star-shaped sprinkle right on top. Let your beautiful trees dry completely, and then they’re ready to enjoy!
My Top Tips for Success
- I always make sure my wax paper is laid out and ready before I even start melting the chocolate. This way, everything is set up for quick decorating.
- In my experience, using a small sandwich baggie for drizzling gives you more control than a larger piping bag.
- Trust me on this one: don’t cut the tip of the baggie too large! Start with a tiny snip, and you can always make it a little bigger if needed.
- Work quickly once the chocolate is drizzled. Sprinkles adhere best when the chocolate is still wet.
- If your chocolate starts to harden in the baggie, you can gently warm the baggie in warm water or microwave it for a few seconds (carefully!) to re-melt it.
Common Mistakes to Avoid
- Cutting the baggie tip too large: If the hole is too big, you’ll have less control over your chocolate drizzle, and your trees might look messy. Start small!
- Not working quickly enough with sprinkles: Chocolate sets fast! If you wait too long, your sprinkles won’t stick. Have them ready to go.
- Overheating the chocolate: This can make the chocolate seize or become grainy. Always melt in short intervals and stir thoroughly.
- Not using wax paper: The trees will stick to regular plates or parchment paper, making them hard to remove cleanly. Wax paper is key for easy release.
How to Store Pocky Christmas Trees
- At room temperature: Store in an airtight container at cool room temperature for up to 1 week.
- In the refrigerator: For longer storage or in warmer climates, store in an airtight container in the fridge for up to 2 weeks. Let them come to room temperature for a few minutes before serving for the best texture.
Frequently Asked Questions
Can I use other types of chocolate?
Yes, you can! White chocolate or milk chocolate melting wafers would also work wonderfully. Just make sure it’s a melting wafer product for easy setting.
What if I don’t have a star sprinkle?
No problem! You can use a small round sprinkle, a tiny piece of yellow candy, or even just a dot of white chocolate for the top of your tree.
Can I make these ahead of time?
Absolutely! These Pocky Christmas Trees hold up well and can be made a few days in advance. Store them properly as described above.
My chocolate is too thick to drizzle. What should I do?
If your melting wafers are too thick, you can add a tiny bit (1/2 to 1 teaspoon) of coconut oil or vegetable shortening to the melted chocolate and stir well to thin it out slightly.
I hope these Pocky Christmas Trees bring a little extra sparkle and joy to your holiday season! They’re such a fun, easy, and delicious way to get into the festive spirit. If you give these a try, I’d absolutely love to hear how your Pocky Christmas Trees turned out!
PrintPocky Christmas Trees

Festive and fun, these Pocky Christmas Trees are a delightful no-bake treat perfect for holiday gatherings or a sweet activity with kids.
- Prep Time: 15
- Cook Time: 5
- Total Time: 20
- Yield: 15-20 trees
- Category: Dessert
- Method: No-Bake
- Cuisine: American
Ingredients
- Pocky
- Dark Ghirardelli melting wafers
- Small colorful sprinkles
- Star Sprinkle
Instructions
- Place Pocky pieces on wax paper, ensuring they are spaced apart.
- Melt the Ghirardelli melting wafers according to package directions, typically in intervals in the microwave, stirring until smooth.
- Carefully transfer the melted chocolate into a sandwich baggie.
- Snip a very small tip off one corner of the sandwich baggie to create a piping hole.
- Drizzle the melted chocolate over each Pocky stick in the shape of a Christmas tree, starting wider at the bottom and tapering to the top.
- Immediately place small colorful sprinkles over the wet chocolate tree before it dries and sets.
- Carefully place one star-shaped sprinkle on the very top of each chocolate tree.
- Allow the Pocky Christmas Trees to dry completely on the wax paper until the chocolate is firm.
- Enjoy your festive Pocky Christmas Trees!
Notes
Ensure wax paper is ready before melting chocolate for quick assembly.
Do not cut the baggie tip too large; start small for better control.
Work quickly with sprinkles as chocolate sets fast.
Store finished trees in an airtight container at room temperature for best results.